Chile Rellenos
1 lb. peppers (poblano or anaheim work best)
3/4 c. cream cheese (I used low-fat, but whatever works. Also another soft cheese could be substituted.)
Ground Pepper
4 eggs, separated
1/4 c. flour
1. Preheat the oven to 450 degrees. Then wash and dry the peppers.
2. Place the peppers on a baking sheet and bake (or rather more like roast) the peppers for 7-10 minutes on each side @ 450. (I used Anaheim peppers, so adjust your times if you are using a smaller pepper like the jalapeno.)
3. Once they are done "roasting" let them cool a bit. (The should look blackened.) While you are waiting on the peppers to cool off, mix up the cream cheese and pepper. Just add enough ground black pepper to taste. Mix it up nicely though, so it will be easier to stuff inside the chiles.
4. Take the blackened peel off the outside of them. Then seed them, by cutting a slit about 1/2 down one side starting at the top of the pepper. Then use a spoon (I found a grapefruit spoons works really well) to scoop out the seeds. Rinse them off when you are done seeding, to get any remaining seeds out. (The seeds in peppers are what really heats things up, so feel free to leave them in if you'd like a mouth of fire later on.) :)
5. Now you are ready to stuff those chiles! So, divide up the cream cheese for how many peppers you have. (I had 3 peppers but one was really big, so I divided the cheese into 4ths and put 1/4 in each of the smaller peppers, and 2/4 (or 1/2) in the big one!) Then carefully stuff the cheese into the peppers. Be careful because the roasted peppers are really quite delicate. I accidentally tore one all the way down the side. So try to not do that with yours! :)
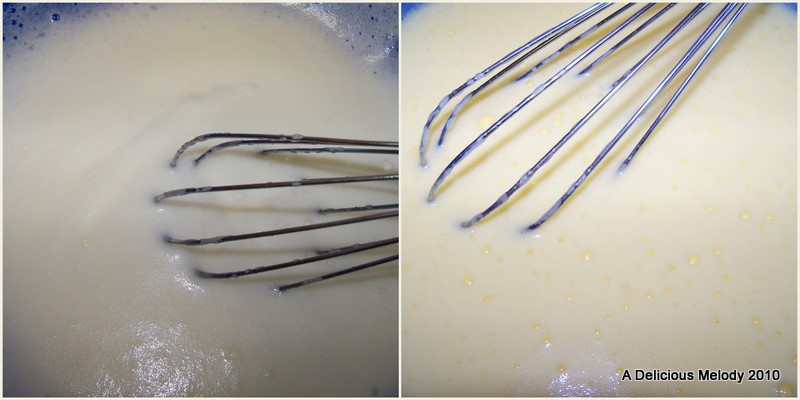
6. Now on to the batter. Using a whisk or hand mixer whip up the egg whites until they are white and fluffy. Then fold in the yolks and beat some more to ensure it's combined and still fluffy.
8. Put the flour on a plate and roll each pepper in the flour before putting it in the egg batter. (Make sure flour gets everywhere as it will help the batter to stick to them!)
9. In a medium-high skillet cook these until golden brown on each side. (It was about 2 minutes or so a side for mine.)
10. Serve and enjoy! :)
To be honest, they weren't as good as ones I have had in restaurants before. But that might all have to go with the crispiness. I order them crispy at restaurants...And these didn't turn out crispy. They were good and full of flavor that I like, but I guess I need to perfect the crispiness next time. :)
P.S. Of course you can put sauce on these, I'm just not a saucy gal...


29E180CE2D
ReplyDeleteTakipçi Satın Al
M3u Listesi
Telegram Coin Botları
Kazandırio Kodları
101 Okey Vip Hediye Kodu